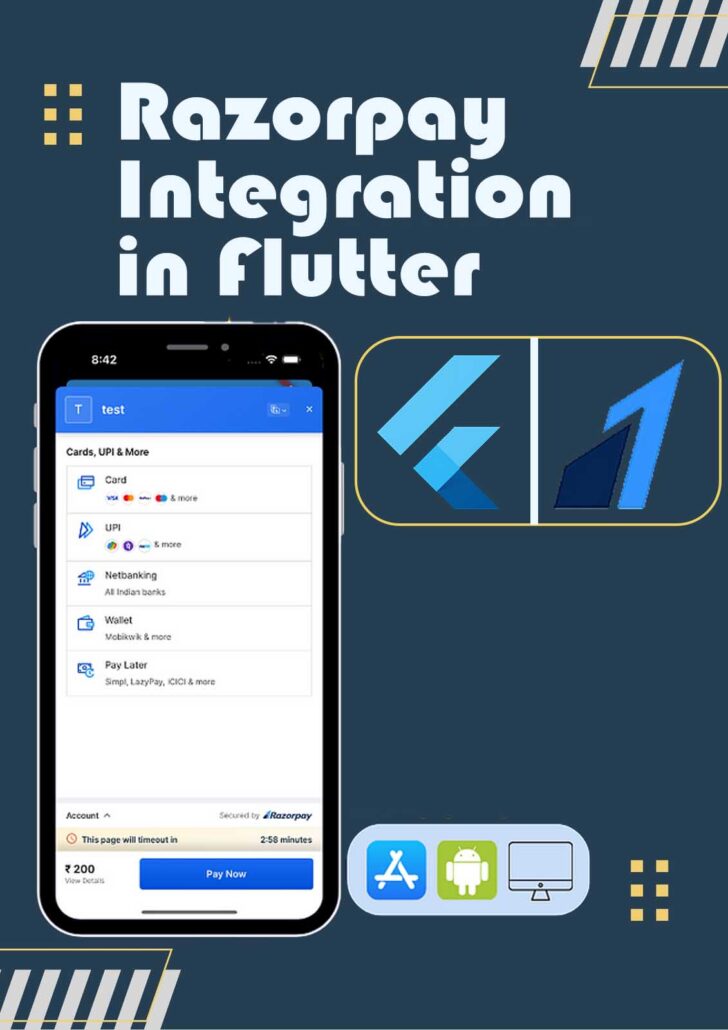
How to Integrate Razorpay in Flutter: A Step-by-Step Guide
In the ever-evolving world of mobile app development, one crucial aspect is facilitating seamless payment processing. If you’re building a Flutter app and want to enable your users to make payments, integrating a payment gateway like Razorpay is a great choice. In this guide, we’ll walk you through the steps to integrate Razorpay into your Flutter app.
What is Razorpay?
Razorpay is a popular payment gateway that simplifies online payment processing for businesses and developers. With Razorpay, you can accept payments through various methods, including credit and debit cards, net banking, UPI, wallets, and more. It’s a reliable and secure solution trusted by many businesses in India and beyond.
Now, let’s dive into the steps to integrate Razorpay into your Flutter app.
Step 1: Sign up for a Razorpay Account
Before you can start integrating Razorpay into your Flutter app, you need to create an account on the Razorpay platform. This account will allow you to generate API keys and access their developer dashboard, where you can configure payment settings.
Step 2: Create a Flutter Project
If you haven’t already, create a new Flutter project or open an existing one where you want to integrate Razorpay. You can do this by using the Flutter command-line tool.
flutter create my_flutter_project
Step 3: Add Dependencies
Open your project in your preferred code editor and add the necessary dependencies to your pubspec.yaml file. You’ll need the razorpay_flutter package to interact with the Razorpay payment gateway. Make sure to check the latest version on pub.dev.
dependencies:
flutter:
sdk: flutter
razorpay_flutter: ^latest_version
After updating the pubspec.yaml file, run flutter pub get to fetch the new dependency.
Step 4: Initialize Razorpay
In your Flutter app, you need to initialize Razorpay with your Razorpay API Key. Typically, this should be done in your app’s initialization code, like in your main.dart file.
import 'package:razorpay_flutter/razorpay_flutter.dart';

void main() {
  runApp(MyApp());
}

final Razorpay _razorpay = Razorpay();

void _handlePaymentSuccess(PaymentSuccessResponse response) {
  // Handle payment success
}

void _handlePaymentError(PaymentFailureResponse response) {
  // Handle payment failure
}

void _handleExternalWallet(ExternalWalletResponse response) {
  // Handle external wallet selection
}
Make sure to replace your_api_key with your actual Razorpay API Key.
Step 5: Create a Payment Button
In your Flutter app, create a button or UI element to trigger the payment process. When this button is pressed, you’ll initiate the payment flow using Razorpay.
ElevatedButton(
  onPressed: () {
    openCheckout();
  },
  child: Text('Pay Now'),
)
Step 6: Initiate Payment Process
Create the openCheckout function to start the payment process. This function should configure the payment details, such as amount, currency, and other options.
void openCheckout() {
  var options = {
    'key': 'your_api_key',
    'amount': 10000, // Amount in paise (e.g., 100 INR)
    'name': 'Your Company Name',
    'description': 'Payment for your service',
    'prefill': {
      'contact': 'user_contact_number',
      'email': 'user_email_address',
    },
    'external': {
      'wallets': ['upi']
    }
  };

  try {
    _razorpay.open(options);
  } catch (e) {
    debugPrint(e);
  }
}
Step 7: Handle Payment Callbacks
Finally, you need to handle the payment callbacks, such as success, failure, and external wallet selections, using the functions you defined earlier.
_razorpay.on(
  Razorpay.EVENT_PAYMENT_SUCCESS,
  _handlePaymentSuccess,
);
_razorpay.on(
  Razorpay.EVENT_PAYMENT_ERROR,
  _handlePaymentError,
);
_razorpay.on(
  Razorpay.EVENT_EXTERNAL_WALLET,
  _handleExternalWallet,
);
With these steps, you’ve successfully integrated Razorpay into your Flutter app. Now, when your users click the “Pay Now” button, they’ll be able to make payments through various methods, and you’ll receive callbacks to handle the payment process’s outcome.
Conclusion
Integrating Razorpay into your Flutter app can greatly enhance the user experience by enabling secure and convenient payment processing. By following the steps outlined in this guide, you can provide your users with a smooth and reliable payment solution while focusing on other aspects of app development and growth. Happy coding!
Reference: https://razorpay.com/docs/payments/payment-gateway/flutter-integration/standard/