Laravel CRUD Operation Step by Step
Laravel CRUD Operation Step by Step – A Complete Guide
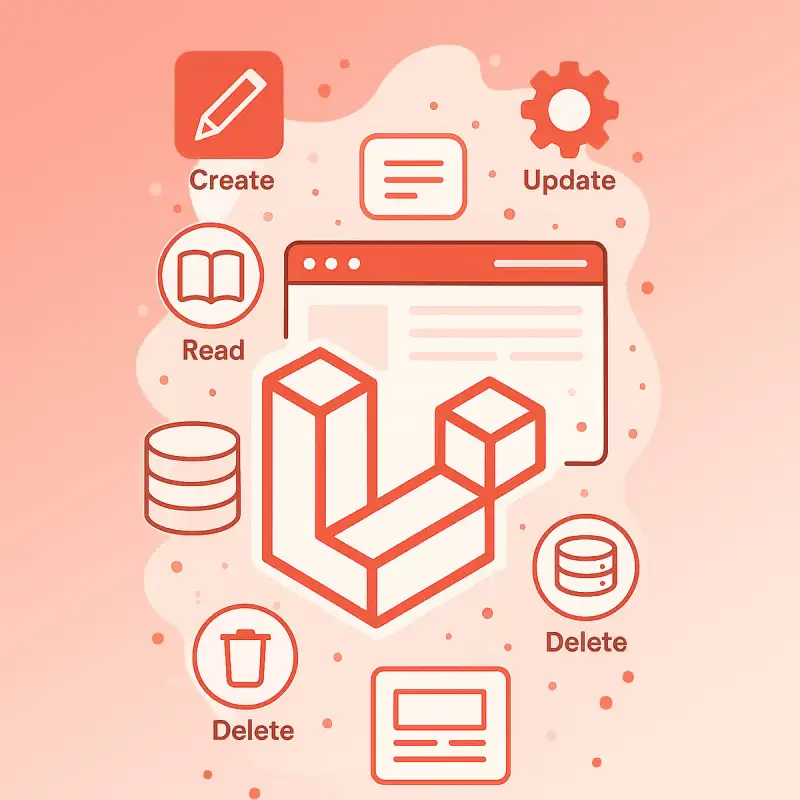
Laravel, a popular PHP framework, simplifies web application development with elegant syntax and robust tools. One of the most common features every developer needs is CRUD operations — Create, Read, Update, and Delete. Whether you're building a blog, inventory system, or any admin panel, CRUD is essential.
In this article, we'll walk through Laravel CRUD operation step by step, covering everything from setting up the project to building the UI with Blade templates.
🛠️ Step 1: Install Laravel
Before we dive into CRUD operations, let's set up a fresh Laravel project.
I assume you already have Composer installed.
composer create-project laravel/laravel my-crud-app
As of now, Laravel has released version 12, which may cause compatibility issues with certain libraries or packages that haven’t been updated yet. If you encounter such issues or prefer a more stable environment, you can install an earlier version of Laravel using one of the following commands:
composer create-project "laravel/laravel:^10.*" my-crud-app
or
composer create-project "laravel/laravel:^11.*" my-crud-app
Move into the project directory:
cd my-crud-app
Start the Laravel development server:
php artisan serve
📦 Step 2: Configure the Database
Open the .env file and update your database credentials:
DB_CONNECTION=mysql
DB_HOST=127.0.0.1
DB_PORT=3306
DB_DATABASE=laravel_crud
DB_USERNAME=root
DB_PASSWORD=
Alternatively, you can use an SQLite database, which is a great option for quick development and testing. The latest versions of Laravel come pre-configured with SQLite support, allowing you to kickstart your project without any complex database setup.
Now create the database in MySQL (e.g., using phpMyAdmin or MySQL CLI):
CREATE DATABASE laravel_crud;
📁 Step 3: Create a Model and Migration
Let’s create a Post model with a migration.
php artisan make:model Post -m
Open the generated migration file in database/migrations/xxxx_xx_xx_xxxxxx_create_posts_table.php and define the schema:
public function up()
{
    Schema::create('posts', function (Blueprint $table) {
        $table->id();
        $table->string('title');
        $table->text('content');
        $table->timestamps();
    });
}
Now migrate the table:
php artisan migrate
📋 Step 4: Create Resource Controller
Laravel provides a resource controller to handle CRUD operations easily.
php artisan make:controller PostController --resource
This command creates methods like index, create, store, show, edit, update, and destroy.
🌐 Step 5: Define Routes
Open routes/web.php and add the resource route:
use App\Http\Controllers\PostController;

Route::resource('posts', PostController::class);
✏️ Step 6: Implement CRUD Logic in Controller
Open app/Http/Controllers/PostController.php and implement the logic:
Display All Posts
public function index()
{
    $posts = Post::latest()->get();
    return view('posts.index', compact('posts'));
}
Show Create Form
public function create()
{
    return view('posts.create');
}
Store New Post
public function store(Request $request)
{
    $request->validate([
        'title' => 'required',
        'content' => 'required',
    ]);

    Post::create($request->all());

    return redirect()->route('posts.index')->with('success', 'Post created successfully.');
}
Show Edit Form
public function edit(Post $post)
{
    return view('posts.edit', compact('post'));
}
Update Post
public function update(Request $request, Post $post)
{
    $request->validate([
        'title' => 'required',
        'content' => 'required',
    ]);

    $post->update($request->all());

    return redirect()->route('posts.index')->with('success', 'Post updated successfully.');
}
Delete Post
public function destroy(Post $post)
{
    $post->delete();

    return redirect()->route('posts.index')->with('success', 'Post deleted successfully.');
}
💡 Step 7: Create Blade Views
resources/views/posts/index.blade.php
@extends('layout')

@section('content')
    <h2>Posts</h2>
    <a href="{{ route('posts.create') }}">Create Post</a>

    @if(session('success'))
        <p>{{ session('success') }}</p>
    @endif

    <ul>
        @foreach ($posts as $post)
            <li>
                <strong>{{ $post->title }}</strong>
                <p>{{ $post->content }}</p>
                <a href="{{ route('posts.edit', $post->id) }}">Edit</a>
                <form action="{{ route('posts.destroy', $post->id) }}" method="POST" style="display:inline;">
                    @csrf
                    @method('DELETE')
                    <button type="submit">Delete</button>
                </form>
            </li>
        @endforeach
    </ul>
@endsection
create.blade.php and edit.blade.php (similar forms)
@extends('layout')

@section('content')
    <h2>{{ isset($post) ? 'Edit' : 'Create' }} Post</h2>

    <form action="{{ isset($post) ? route('posts.update', $post->id) : route('posts.store') }}" method="POST">
        @csrf
        @if(isset($post))
            @method('PUT')
        @endif

        <input type="text" name="title" value="{{ old('title', $post->title ?? '') }}" placeholder="Title" required>
        <textarea name="content" placeholder="Content" required>{{ old('content', $post->content ?? '') }}</textarea>
        <button type="submit">{{ isset($post) ? 'Update' : 'Submit' }}</button>
    </form>
@endsection
resources/views/layout.blade.php
<!DOCTYPE html>
<html>
<head>
    <title>Laravel CRUD</title>
</head>
<body>
    <div class="container">
        @yield('content')
    </div>
</body>
</html>
✅ Step 8: Test Your Application
Visit the Laravel app in your browser:
http://127.0.0.1:8000/posts
You should now be able to:
- View all posts
- Add a new post
- Edit existing posts
- Delete posts
🧠 Final Thoughts
CRUD operations form the core of many web applications. Laravel’s resourceful controllers, routing, and Eloquent ORM make CRUD incredibly easy and clean to implement. With just a few commands and Blade templates, you can build fully functional forms and data views in no time.
🔗 Bonus Tips
- Add pagination with $posts = Post::latest()->paginate(10);
- Use Laravel Breeze or Jetstream for authentication if needed
- Style your views using Tailwind CSS or Bootstrap
Did you find this Laravel CRUD tutorial helpful? Let me know if you want a follow-up on validation, file uploads, or Vue.js/Livewire integration in CRUD apps!